
Sourdough starters may seem like fickle beasts. If you don’t feed them, they’ll die. If you don’t water them, they’ll die. Let them sit in the cold? They won’t grow. Or if you let them sit in the heat, they’ll grow too fast (and they’ll die).
But don’t let that scare you away from using a sourdough starter! Once you get the hang of caring for your starter, you’ll soon have an invaluable component for bread making.
To help you get your starter off in the right direction, I’ve tackled these sourdough starter commonly asked questions.
Starting
Starting is a lengthy process, but it doesn’t have to be a difficult one. These sourdough starter commonly asked questions will help you avoid making beginner mistakes.
I want to make sourdough, but where do I begin?
Since a few of my recipes rely on wild yeast sourdough starter, I’ve given basic instructions for creating your own wild yeast sourdough starter.
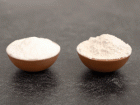
What kinds of flour can I use?
In my instructions, I use all-purpose white flour since that’s the cheapest and that’s the easiest available. However, you should be able to make a starter using just about any kind of flour, including rye, whole wheat, spelt, and barley. As long as your flour is grain-based, you should be fine.
What kinds of water should I use?
While you can use distilled water, bottled water, or mineral water for your starter, regular tap water works just as well. However, if you have high chlorine levels in your water, fill a bottle with water and let it sit overnight to allow the chlorine to dissipate before baking.
What kind of container should I use?
Your starter will produce acids that will eat away at a variety of metals, so steer away from using metal bowls or containers when making a starter (though you can use them when baking with your starter). I tend to switch between a generic glass bowl and a canning jar; both of which I cover loosely with plastic wrap.
However, if you plan to keep a starter for a while, I suggest investing in a Weck jar. It has a lid that sits on top rather than screwing into the base, so it has room for expansion during fermentation.
Does my cover have to be airtight?
Unless you’re a super secret spy, your cover does not need to be airtight. In fact, starters produce gases during the fermentation process, and your container will need a way to release those gases or it will burst. I suggest using plastic wrap when covering your starter container, as it has some give for expansion but it won’t let other objects fall into your jar.
Maintaining
Once you’ve created a mature sourdough starter, you can easily maintain it. However, it’s normal to ask the following sourdough starter commonly asked questions.
How often should I clean my container?
I recommend cleaning the top of the container whenever you feed your starter. After a feeding, scrape down the sides and incorporate the residue back into the starter. Then use a damp cloth or towel to wipe any remaining moisture from the top of the container. This will keep the top half of your container reasonably clean, and the starter will cover the bottom half.
But if your container seems particularly crusty after a couple of weeks, feel free to transfer your starter to a clean container and wash the old one.
When is the best time to feed my starter?
If you are a beginning baker, aim to feed it once daily at a time that works best for you. Many of my friends and family say that they struggle to maintain a starter because they can never remember to feed it. They fall out of practice and the starter dies. I try to remember to feed my starter at about the same time every day, usually in the morning around breakfast or in the evening before bed. But you can feed your starter at any time of day, so long as you do it regularly. If you struggle to remember, set a reminder on your phone to help you get in the habit.
If you have a lot of experience with your starter, you can work toward timing your feeds so your starter is ready when you need to bake. For best results, feed your starter 3 to 4 hours before baking.
Keep in mind that some flours and starters proof quickly, such as rye flour. Your starter may need 3 to 4 feedings daily, especially if you bake frequently. Feel free to experiment and see what works best for you.
Troubleshooting
Most sourdough starter commonly asked questions involve troubleshooting the starter. A lot of problems crop up for a variety of reasons.
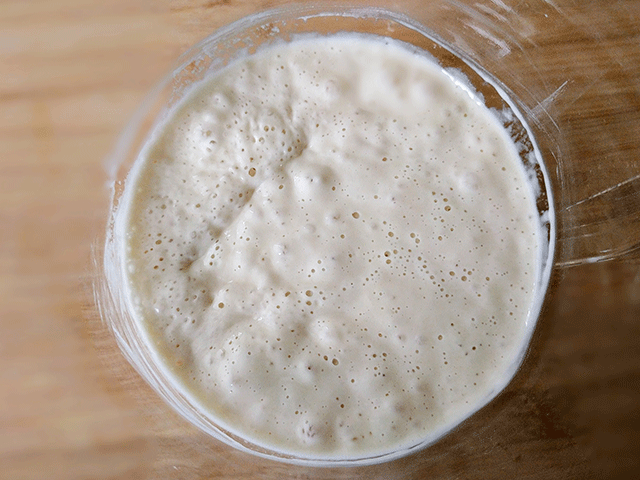
My starter had a lot of initial activity, but that activity has died down a lot. What should I do?
Sometimes in the first few days of making a starter, you’ll see a lot of froth and bubbles. And then for seemingly no reason, your starter goes inert. Don’t worry. The spurt of activity comes from a variety of bacteria in your starter. If you keep feeding your starter as outlined in my how-to post, the right kind of bacteria will produce acids that kill other bacteria in your starter, resulting in a lull of activity. As more of the right kind of bacteria grow and reproduce in your starter, activity will pick up again soon.
I keep following the guidelines, but my yeast never does anything at all. How come?
Check the temperature in your home. Yeast likes temperatures between 70 and 75 degrees Fahrenheit. Colder temperatures slow the fermentation process.
My starter has a thin layer of liquid on top that smells like alcohol. Has my starter gone bad?
This liquid layer is called “hooch.” Yeast produces alcohol during the fermentation process, and this top liquid layer is essentially cheap bad booze. It often appears when you feed your starter infrequently or if you have a higher water to flour ratio.
If you only have a little bit of hooch on your starter, just stir it into the rest of your starter, feed you starter, and keep going as you would normally. If you have close to an inch of hooch, discard all but 1/2 cup of your starter. Feed your starter equal parts water and flour, and let it sit for a few hours. If you see bubbles and signs of activity, let it sit for another 8 hours or so before using it for baking.
However, if you don’t see any activity after feeding your starter, your starter is probably dead, and you’ll need to begin again.
My container has mold. What do I do?
Yeast produces acid that fights common bacteria and mold. However, if you don’t feed your starter properly and if you don’t clean your container on occasion, mold can grow.
If you only see one or two tiny mold spots, you can use a clean utensil to scoop some of the uncontaminated starter (untouched by mold) and transfer it to a clean container. You can then feed your starter equal parts water and flour as usual and watch for new mold growth over the next two or three days.
But in general, I’d recommend exercising good judgment and discarding your starter. It only takes a few days to create a fresh batch of wild yeast starter.
Using
By now you should have no problem making or maintaining your starter. But many sourdough starter commonly asked questions involve using the starter in basic recipes.
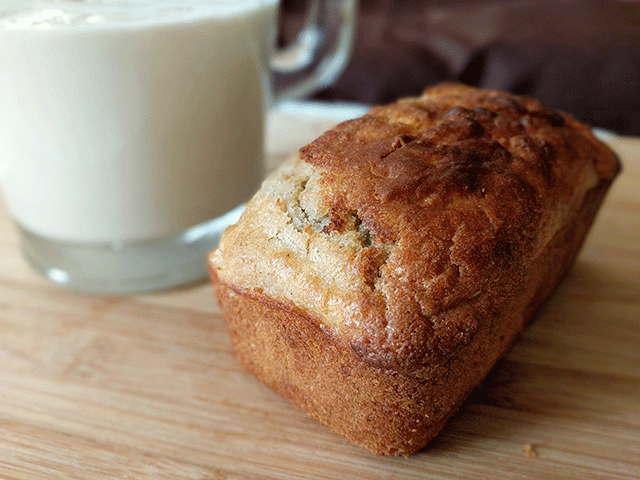
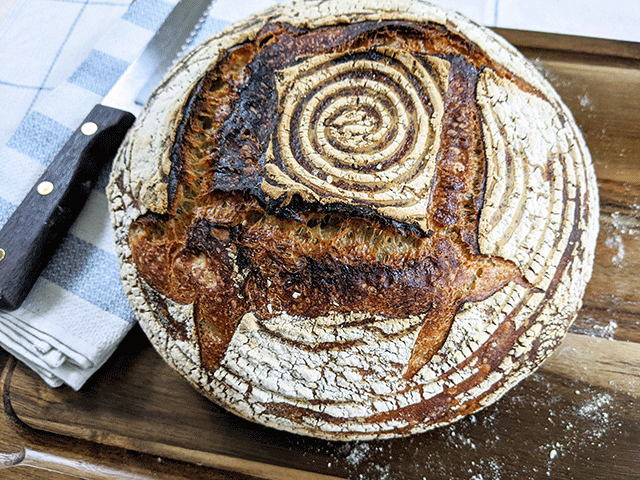
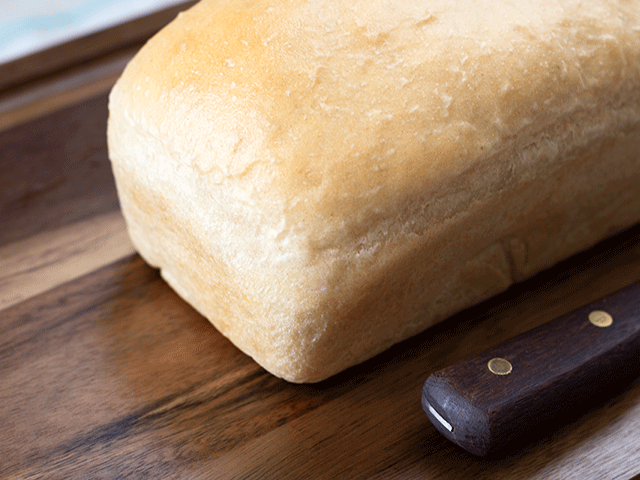
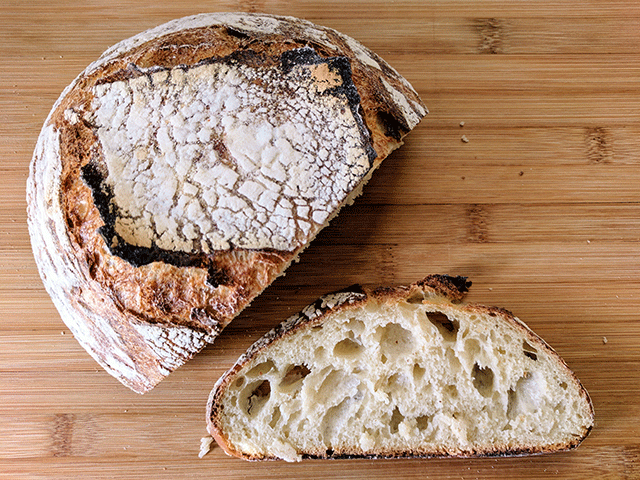
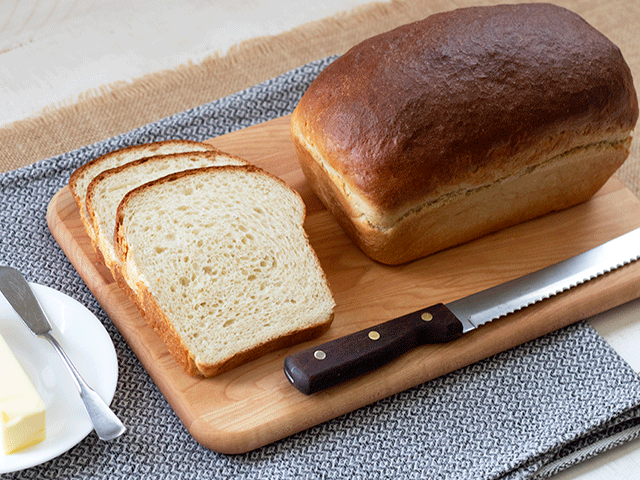
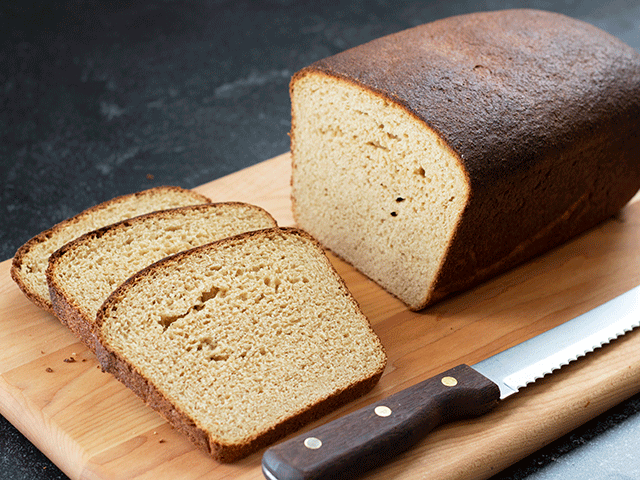
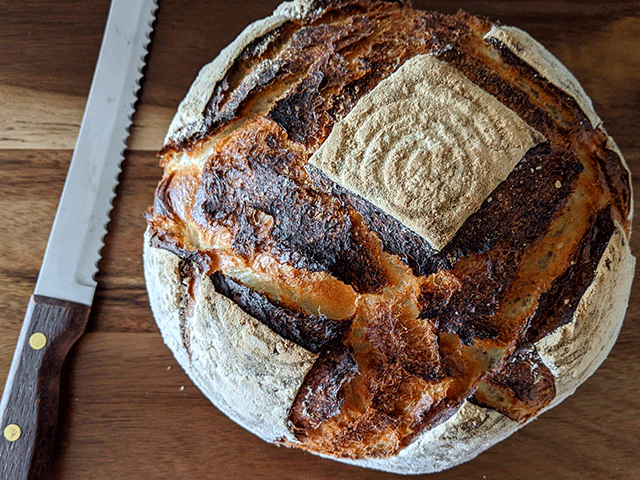
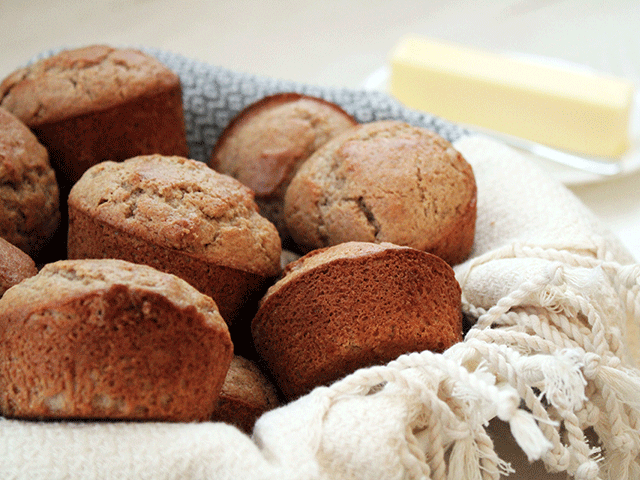
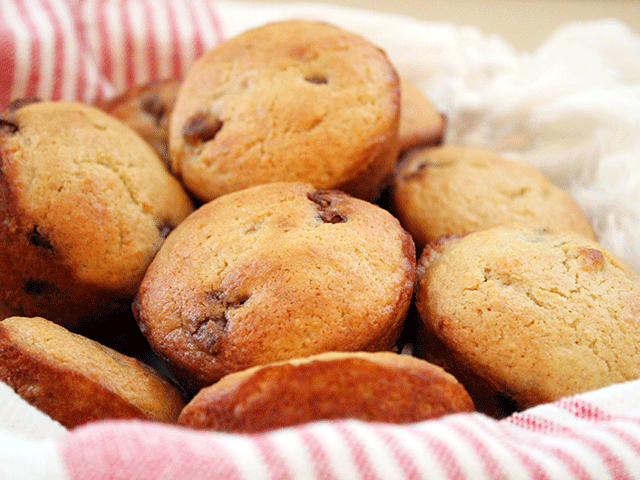
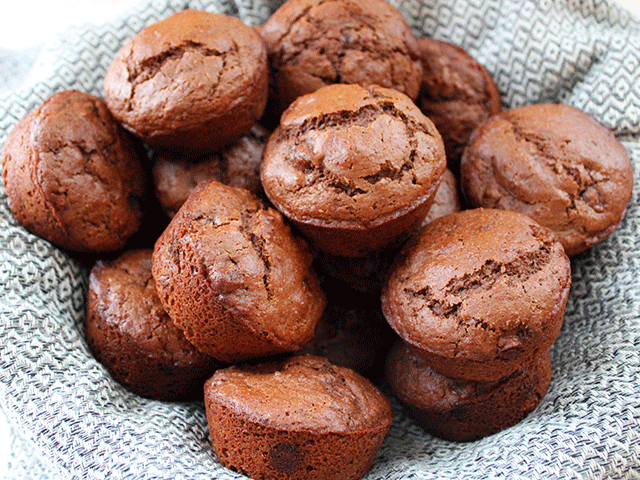
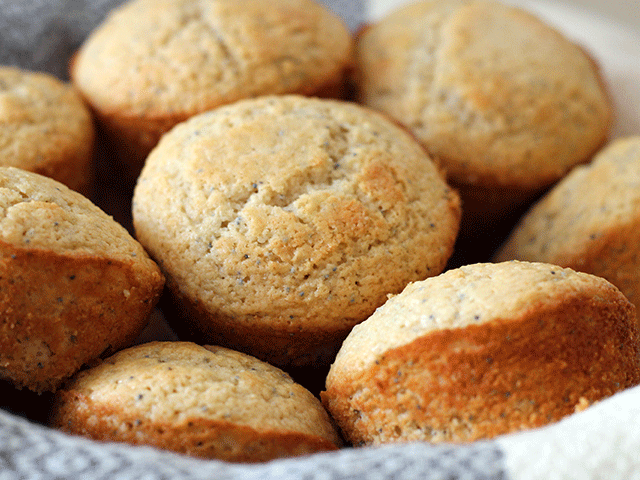
What recipes call for a starter?
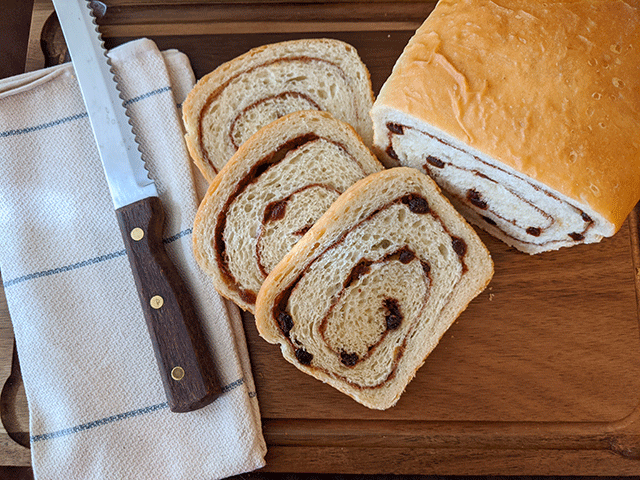
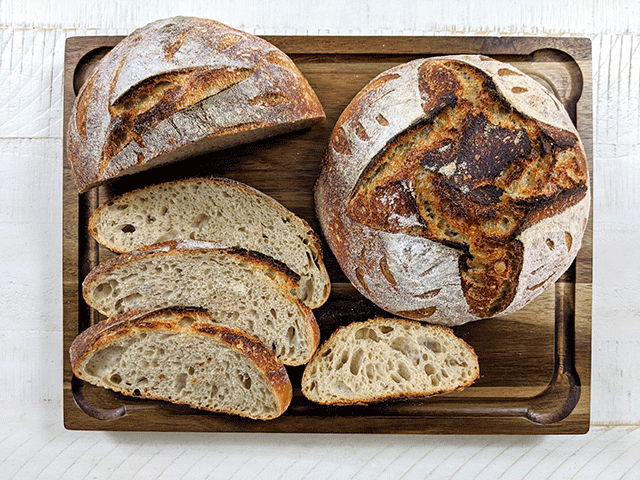
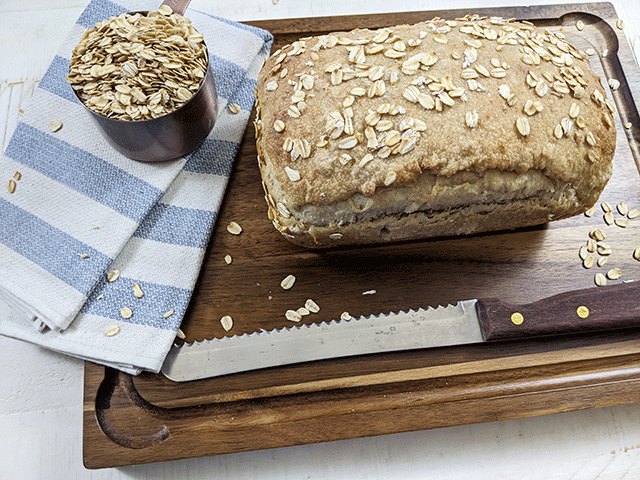
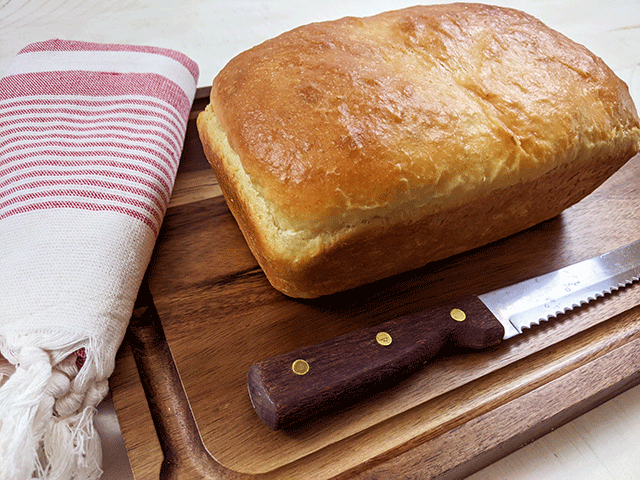
So far, I’ve used my sourdough starter for the following:
I’ll add more recipes in the future, so keep checking back for more!
Do I have to use my starter with bread?
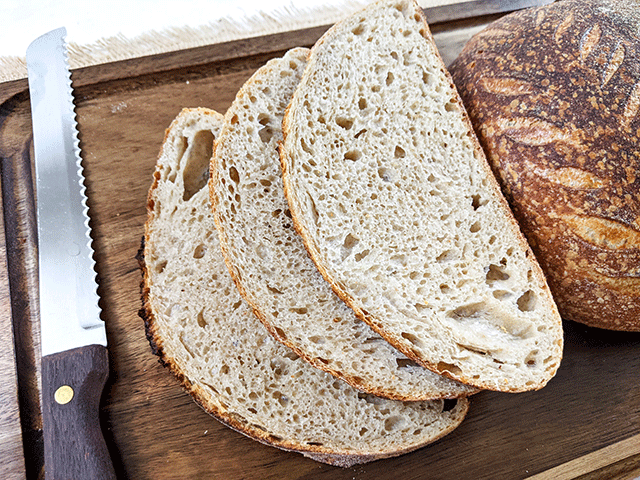
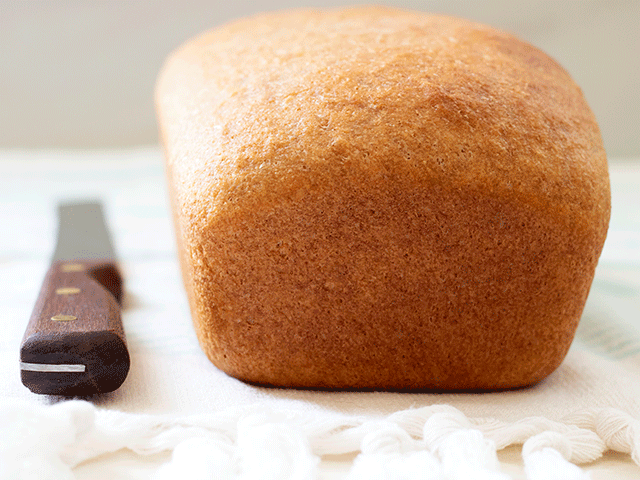
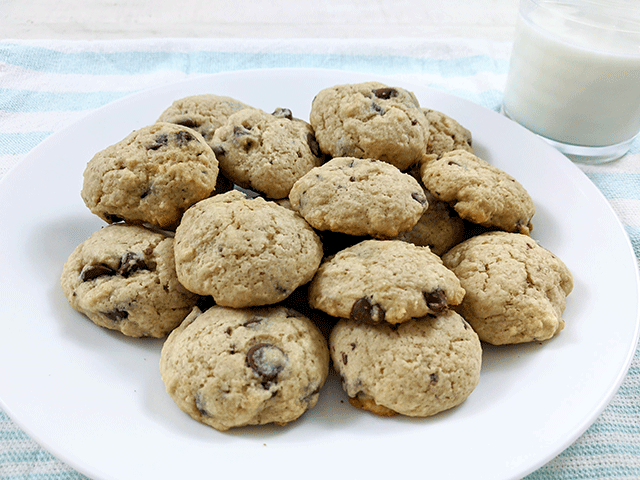
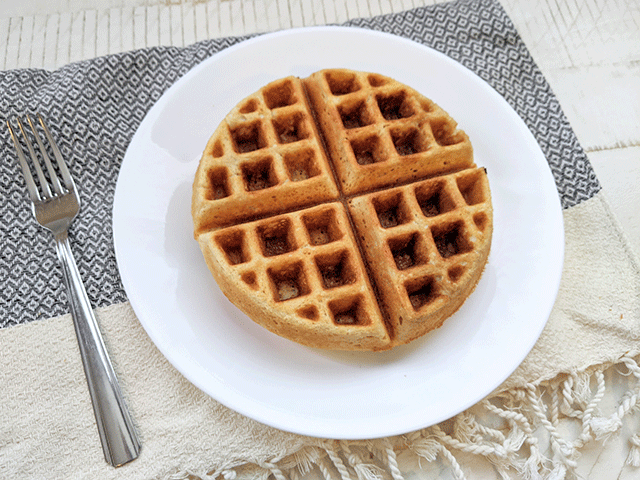
While I love bread, I understand the need to switch things up and have a little variety. You can use your starter to make sourdough pancakes, waffles, tea cakes, muffins, pizza dough, and even cookies. You won’t find these other recipes on this site because I’m just focusing on bread.
However, if you visit my other site: Jennibeemine.com, you’ll find a few of my favorite, non-bread recipes:

You can also do a quick Google search for recipes, and you’ll be surprised with your starter’s many uses.
What if I don’t want to cook?
If you have an excessive amount of starter and don’t have time to cook, you can also use your starter as compost. I only throw starter away as a last resort.
Vacationing
Need some time to yourself? These sourdough starter commonly asked questions involve storing your starter for extended time frames.
My starter is taking over my life! How do I take a break?
If you don’t bake frequently, or if you plan to go out of town for a few days, you can refrigerate your starter. To prepare your starter, discard all but 20 grams of starter and then feed it 100 grams four and 80 grams water so your starter is a little on the stiff side. Let your starter sit for an hour or so, and then pop it in the fridge. Your starter can stay alive in the fridge for up to a week before it needs another feeding.
When you want to start baking again, pull your starter out of the fridge and let it thaw for a few hours. Feed it like you would normally for a day or two to give your starter time to get active again, and then go ahead and bake!
What if I want to vacation for even longer?
If you want to take an extended vacation from your starter, you can freeze your starter with a little care. First, check that your freezer won’t drop below 0 degrees Fahrenheit or the wild yeast in your starter will die. Next, transfer your starter to a plastic bag and make the bag as airtight as possible. Then go ahead and freeze.
When you want to revive your starter, move it to the refrigerator to thaw. Once it’s thawed, transfer it to a bowl or other container on your counter and feed it on a regular schedule for a few days to get your starter back up to baking strength.
You can freeze a starter for 2 or 3 months this way.
What if I want to save my starter indefinitely?
If you want to freeze for longer than a few months, you’ll need to dry your starter first.
Smear some of your starter over a piece of parchment paper and let the starter dry completely. The starter should break away from the paper, and you can then grind the starter into small pieces. Place the dried starter in a plastic bag and freeze it indefinitely.
When you want to revive your starter, soak 1 ½ teaspoons dried starter in 1 tablespoon (1 oz.) of lukewarm water. Let it sit for a few minutes to soften. Add 1 tablespoon of flour (1 oz.) and stir until fully incorporated. Cover and let sit for 24 hours. The next day, add another tablespoon (1 oz.) of both flour and water, stir, and let sit for 24 hours. By day 3, add another tablespoon (1 oz.) of flour and water, stir, and let it sit for 12 to 24 hours. By now, you should see some bubbling action, and you can then feed your starter as you would normally.
Do You Still Have Questions?
I did my best to answer all the sourdough starter commonly asked questions my friends and family sent my way. However, I couldn’t possibly cover everything in one post. If you have more questions, share them in the comments below. I’ll do some research and write a follow-up post that answers your questions.

Hi JenniBee
Thank you so much!
I’m just beginning to learn how to make sourdough bread and found your Q & A’s to be extremely helpful!
My question to you is do you prefer an enameled Dutch oven? Or ceramic stoneware Dutch oven?
Those are very good questions! I actually prefer a cast-iron Dutch oven because that’s just what I could afford and because it can handle high temps. A lot of people have great success with enameled and ceramic – so I don’t want to limit anyone who wants to give it a go. Just be aware that some Dutch ovens aren’t supposed to bake at temperatures higher than 450 and some of my recipes can go as high as 475. So long as your Dutch oven can handle the heat, you should have no problem baking sourdough.
Really appreicate the info – between three of your posts you answered all my questions. Now to overcome my fears and start the wild yeast 🙂
I’m glad it was helpful! Good luck with your baking. I hope it’s a fun adventure for you.